![eniture_w89_h34.jpg]](https://support.eniture.com/hs-fs/hubfs/eniture_w89_h34.jpg?height=40&name=eniture_w89_h34.jpg)
To share access to your GTM account, never share your username and password. Instead, invite the user to create their own account. This lets you control their permissions and disable their access at any time.
Step 1: Sign in to Google Tag Manager (GTM)
Open Chrome or your browser of choice and go to tagmanager.google.com. Enter your credentials and complete the authentication process.
If you don't already have a Google Tag Manager account, click the Create account link and create an account for your business.
Step 2: Select the container you want to provide access to
If you have access to more than one GTM account or "container", select the container you want to provide access to. This is done on the landing page you see immediately after login. If you're already in a container, you can change containers by using the dropdown next to the "Tag Manager" branding.

Step 3: Access the Admin menu
Click on the link to the Admin menu located at the bottom top left of the page.

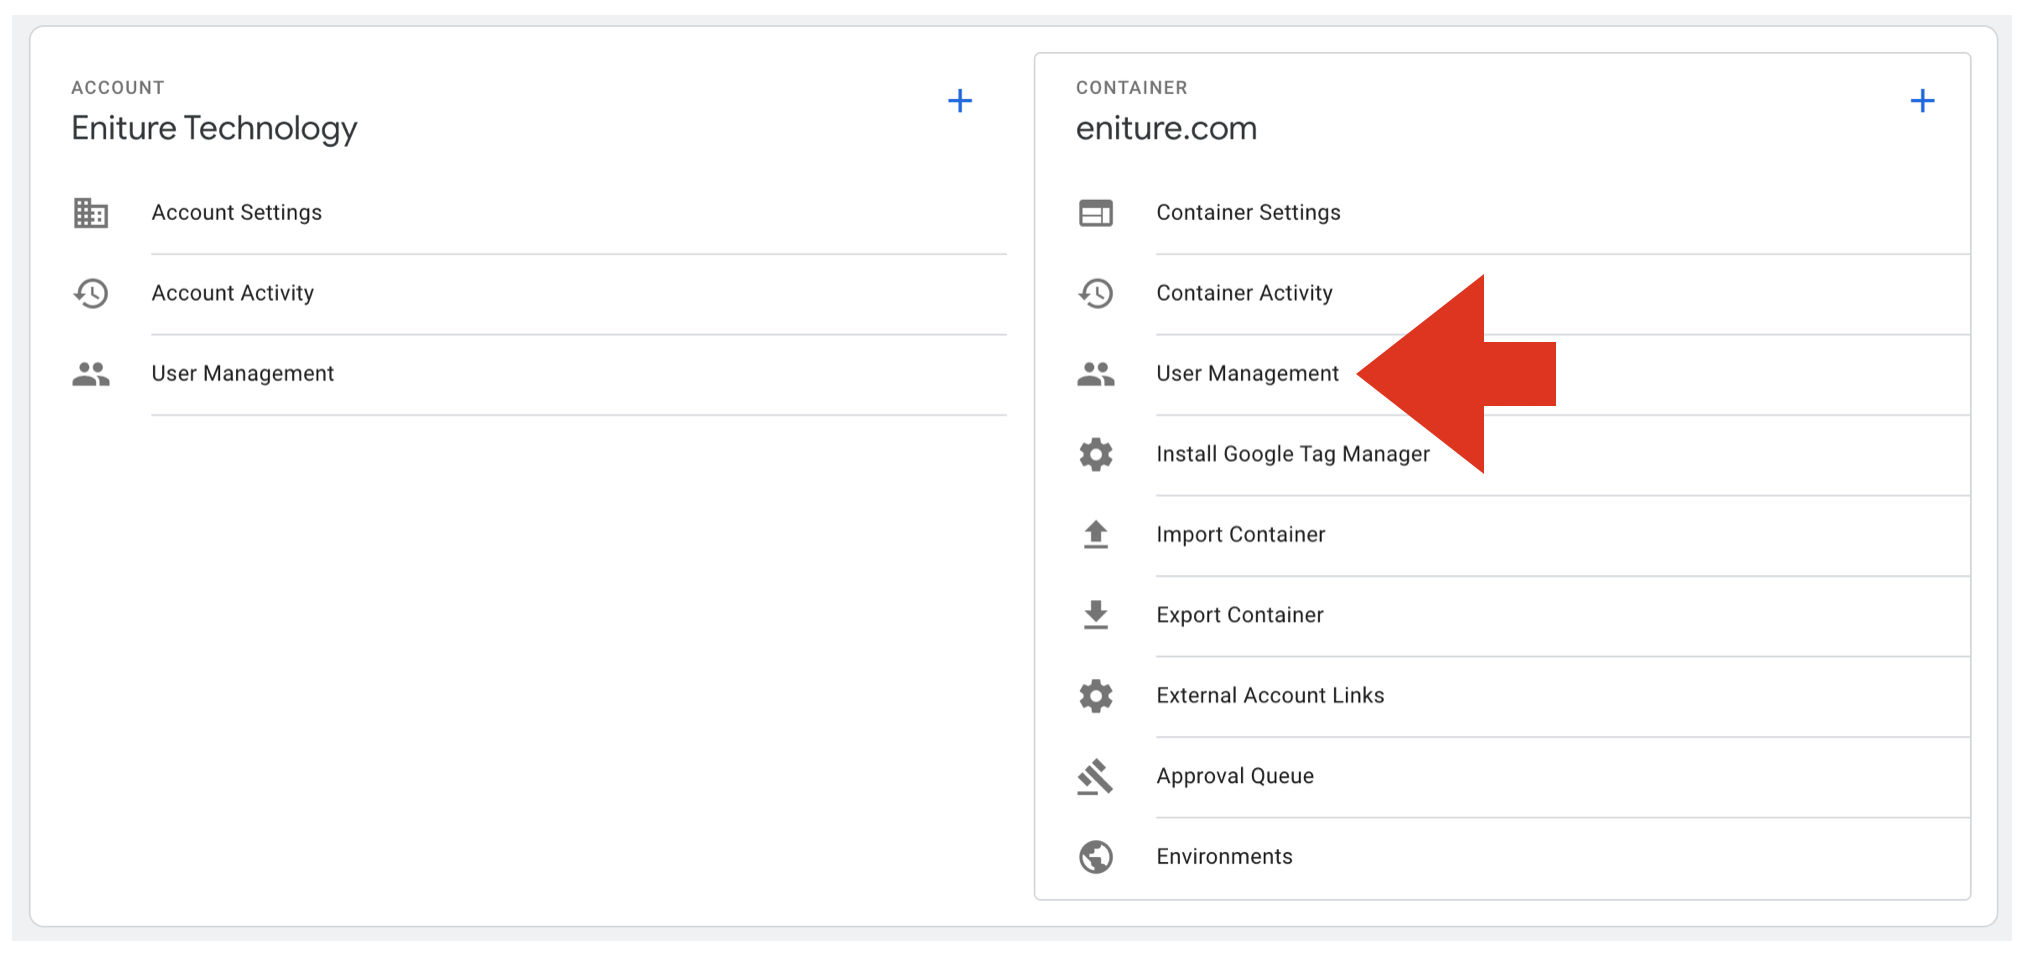
Step 4: Select User Management
Click on User Management in the Container column of the Admin settings. (If you select User Management in the Account column, you'll give the individual access to all of the containers you have the authority to.)
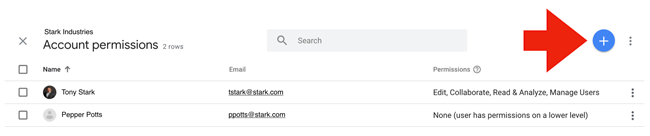
Step 5: Click the Add User icon
Click on the Add User icon and select Add User from the menu.
Step 6: Invite the new user
Enter the email address for the new user. Use the Permissions section beneath the Email addresses section to set the user's access level. Available permission levels are: Read (view-only access), Edit (create and modify tags/triggers/variables), Approve (approve changes for publishing), Publish (publish container versions), and Administrator (full account control). Only grant access to the Administrator if you are comfortable giving the individual the ability to add users, delete users, and change user permissions.
When you are done, click the Invite button at the top right corner of the page. The invited user will receive an email with instructions to complete their account setup. Note that the invitation may expire if not accepted within a set timeframe — resend the invitation from the User Management screen if needed.