If you installed one of Eniture Technology's Small Package (a.k.a parcel) or LTL Freight quoting plugins, one of the steps you'll need to perform is updating the shipping parameters of your products. If you have a lot of products, this can be a massive undertaking if you rely exclusively on the WordPress user interface. In this post, we'll provide you with step-by-step instructions on how to export your products as a CSV file, how to edit the CSV file for the product shipping parameters, and how to import the file back into your online store. This is a much more time-efficient way of updating a lot of products.
Step 1: Export the CSV file
As of version 3.1x, WooCommerce has the ability to export and import your product information built in. Sign in to WordPress and navigate to Products > All Products. To the right of the "Products" page header, you'll see buttons for Import and Export.

Click on the Export button.
You will be presented with several options. Accept the defaults unless you want to narrow down what the CSV file will contain and make sure the "Export custom meta?" setting is enabled.
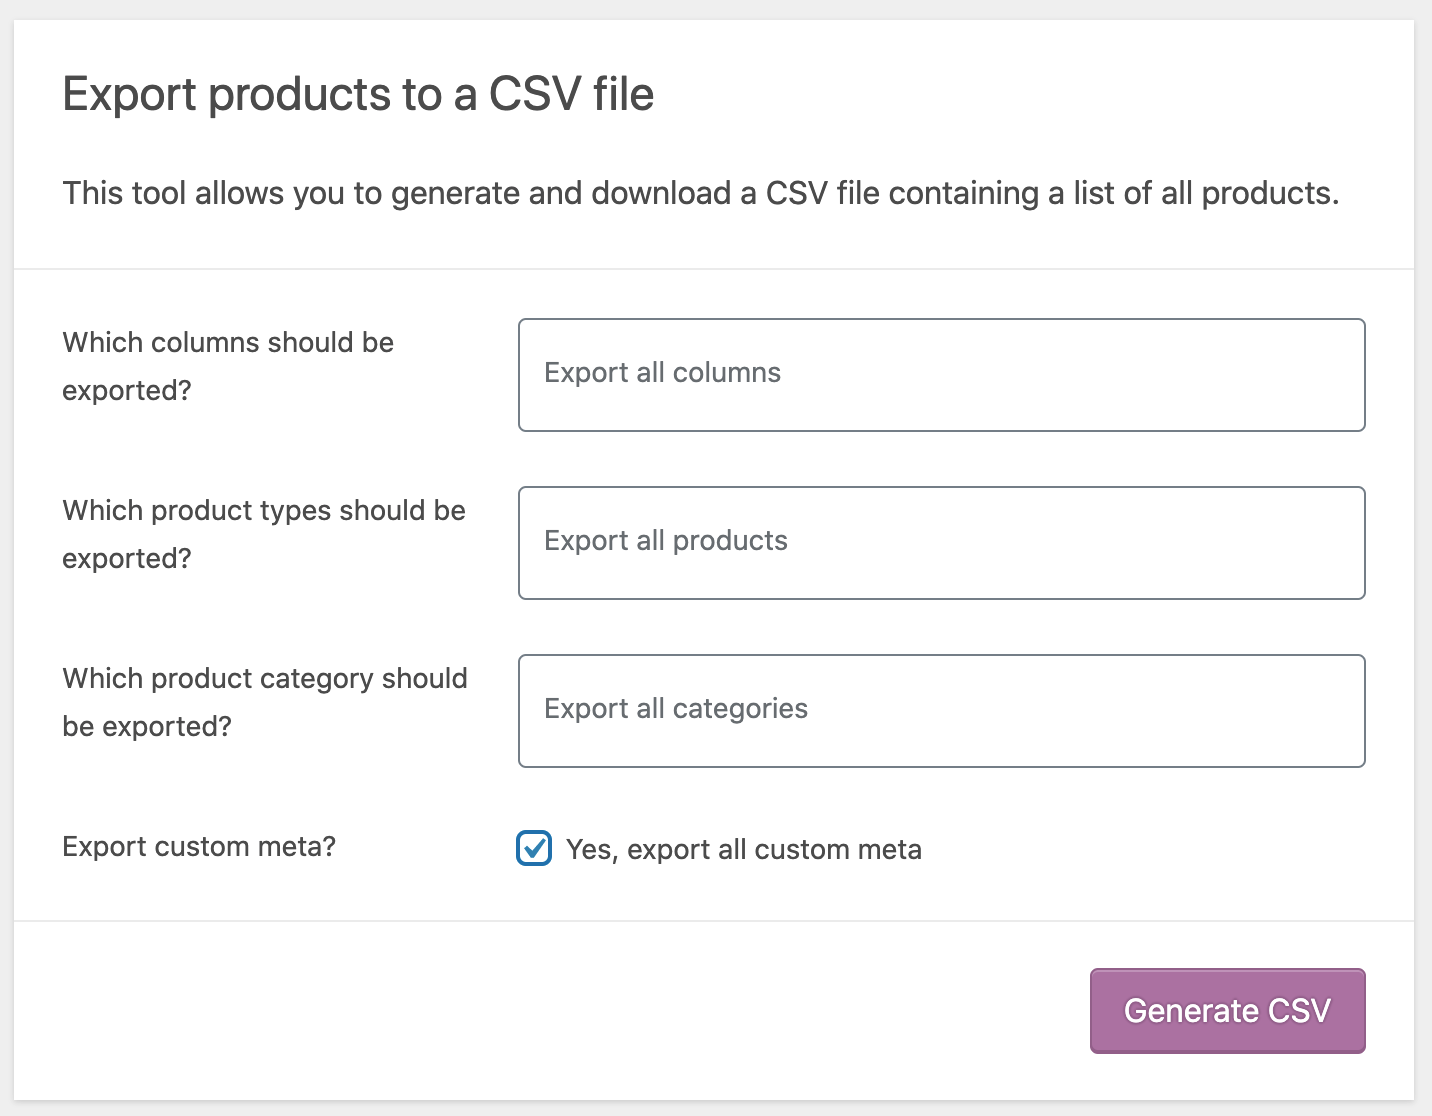
Click the Generate CSV button.
Step 2: Edit the CSV file
Open the CSV file in a program like Microsoft Excel (recommended). Some of the product shipping parameters are standard WooCommerce parameters. These include:
- Weight
- Length
- Width
- Height
Weight is required for all of Eniture Technology's quoting plugins.
The dimension parameters are required if you are using the Standard Box Sizes add-on plugin or the Pallet Packing add-on plugin.
The Shipping Class should be set to "LTL Freight" if you have one of Eniture Technology's LTL Freight Quotes plugins installed and the item has to ship LTL freight.
The remainder of the product shipping parameters is stored in the metadata. You can identify the columns in the CSV file that contain metadata because the column headers contain the prefix "Meta:".
The table below identifies the column headers related to the Small Package Quotes and/or the LTL Freight Quotes plugins. Your file may have metadata column headers that aren't related to the quoting plugins. The table will identify the plugin for which the metadata is pertinent, and a description of what to enter.
| Column Heading | Permitted Values |
|
Meta: _dropship_location_nickname Pertinent to: |
Only needed if the item is shipped from a dropship location. This is a user-defined nickname to help you identify the dropship location. If you have multiple items available from this location, be sure to identify the nickname precisely the same way. If we've enabled your store so that an item is available from multiple dropship locations (not a standard feature), separate the nicknames with a comma. |
|
Meta: _dropship_location_city Pertinent to: |
Only needed if the item is shipped from a dropship location. Enter the city name for the dropship location. If we've enabled your store so that an item is available from multiple dropship locations (not a standard feature), separate the city names with a comma. |
|
Meta: _dropship_location_state Pertinent to: |
Only needed if the item is shipped from a dropship location. Enter the two digit abbreviation of the state or province for the dropship location. If we've enabled your store so that an item is available from multiple dropship locations (not a standard feature), separate the state/province abbreviations with a comma. |
|
Meta: _dropship_location_zip_code Pertinent to: |
Only needed if the item is shipped from a dropship location. Enter the postal code for the dropship location (5 digit ZIP codes only for US addresses). If we've enabled your store so that an item is available from multiple dropship locations (not a standard feature), separate the postal codes with a comma. |
|
Meta: _dropship_location_country Pertinent to: |
Only needed if the item is shipped from a dropship location. Enter "CA" for Canada and "US" for the United States of America. |
|
Meta: _enable_dropship Pertinent to: |
Only needed if the item is shipped from a dropship location. Enter "yes" to indicate that the item is a dropship item. Leave it blank to disable the setting. |
|
Meta: _en_insurance_fee Pertinent to: |
Enter "yes" to have the cost of insuring the shipment included in the shipping quotes if the item is in the cart. Leave it blank to disable the setting. |
|
Meta: _product_freight_class Pertinent to: |
Required. Enter the freight class for the item. If you're unfamiliar with freight classes, please read the article: What is a freight class? |
|
Meta: _product_freight_class_variation Pertinent to: |
Enter the freight class for the product variant if it is different that the parent. If you're unfamiliar with freight classes, please read the article: What is a freight class? |
|
Meta: _hazardousmaterials Pertinent to: |
Enter "yes" to indicate that the item is classified as hazardous material. Leave it blank to disable the setting. |
|
Meta: _en_rot_ver Pertinent to: |
Relevant only when the Standard Box Sizes add-on plugin is installed. Enter "yes" to allow the packaging algorithm to rotate the item when determining its placement in the selected box. Leave the cell blank if the item shouldn't be rotated. |
|
Meta: _en_own_pack Pertinent to: |
Relevant only when the Standard Box Sizes add-on plugin is installed. Enter "yes" to indicate that the item ships as its own package. Leave the cell blank if the packaging algorithm should place the item in a box. |
|
Meta: _en_multiple_packages Pertinent to: |
Relevant only when the Standard Box Sizes add-on plugin is installed. Enter "yes" to indicate that when the item ships, it ships in more than one box. You will still need to use the plugin's user interface to specify the size of each box. |
|
Meta: _nestedMaterials Pertinent to: |
Enter "yes" to indicate that the item will be nested into additional units of the same item for shipping. |
|
Meta: _nestedPercentage Pertinent to: |
Enter the number that represents how much of the item will be contained by the item it is being nested into. For example, enter "90" for ninety percent. |
|
Meta: _nestedDimension Pertinent to: |
Identify which dimension contains the opening that allows the item to be nested. Permitted values are: "length", "width", "height". Relate this setting back to what you entered for the product dimensions. |
|
Meta: _maxNestedItems Pertinent to: |
Enter the maximum number the item you'll allow to be stacked before starting a new stack. |
|
Meta: _nestedStackingProperty Pertinent to: |
Identifies how you want the stack of nested items handled if more than one stack will be the result. Enter "evenly" for stacks of equal height (or within one item in the case of an odd number). Enter "maximized" to retain the maximum number when it is achieved. |
|
Meta: _eniture_product_nmfc_number Pertinent to: |
Only if required by your carrier's Tariff Enter the NMFC number for the item. What is an NMFC Number? |
When you're done editing the CSV file, be sure to save it. It needs to be saved as a CSV file.
Step 3: Import the CSV file
Sign in to WordPress and navigate to Products > All Products. To the right of the "Products" page header, you'll see buttons for Import and Export.
Click on the Import button.
You'll be presented with an import wizard.
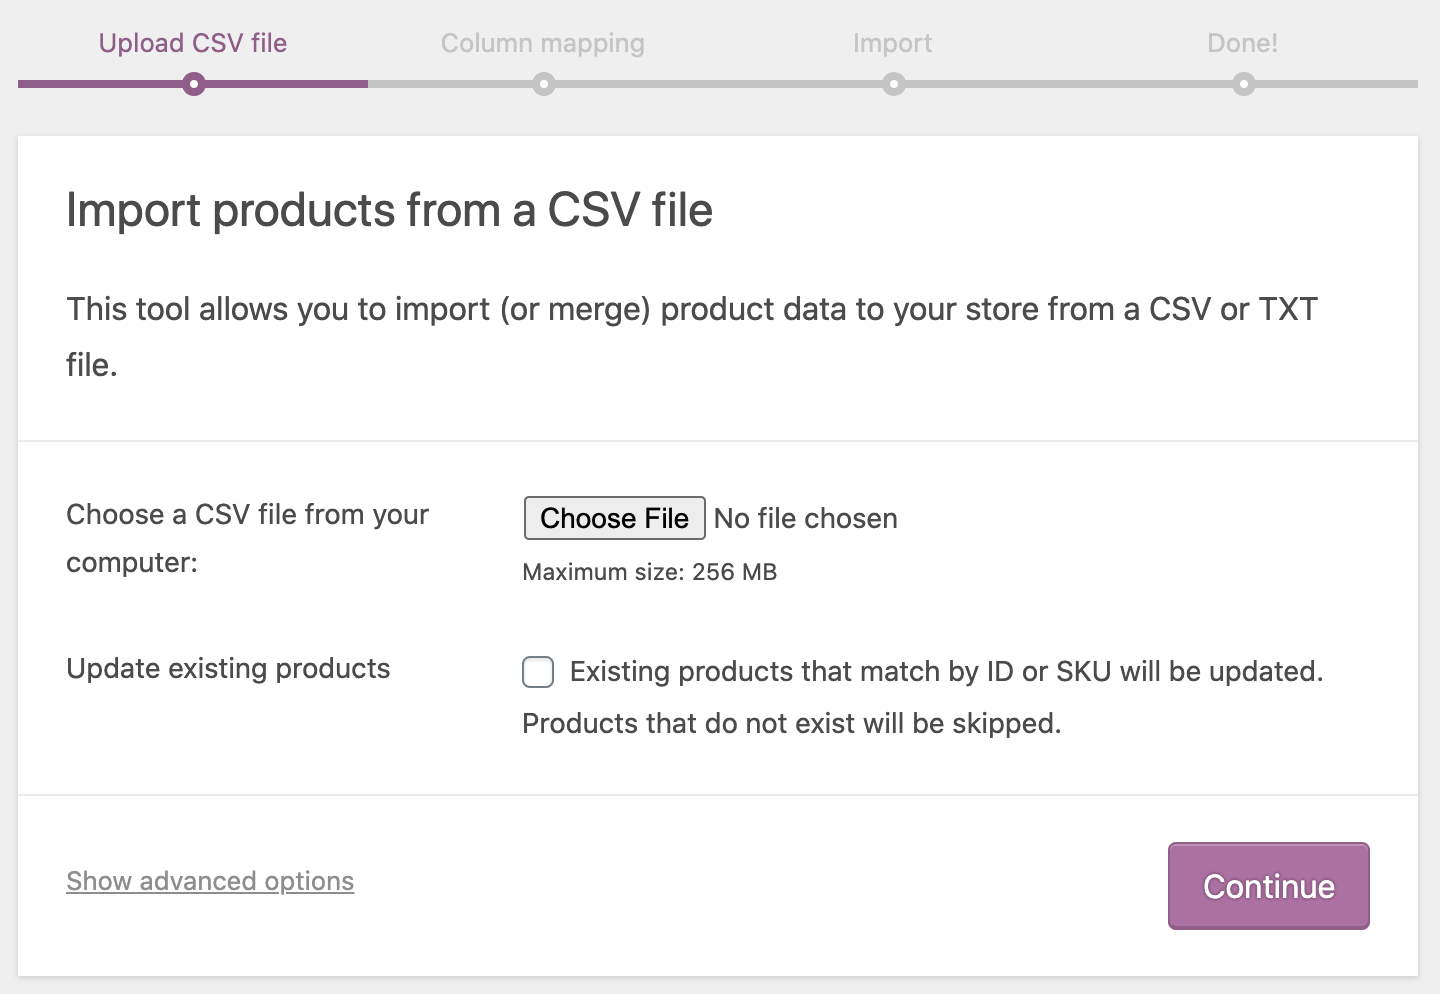
Click on the Choose File button, navigate to and click on your completed CSV file.
Check the box for the Update existing products setting.
Click the Open button.
In Step 2 of the import wizard, map the fields in WooCommerce to the fields in the CSV file. If you didn't change any of the column headers, you won't need to change any of the default selections. The metadata in your CSV file should all be mapped to Import as meta data.
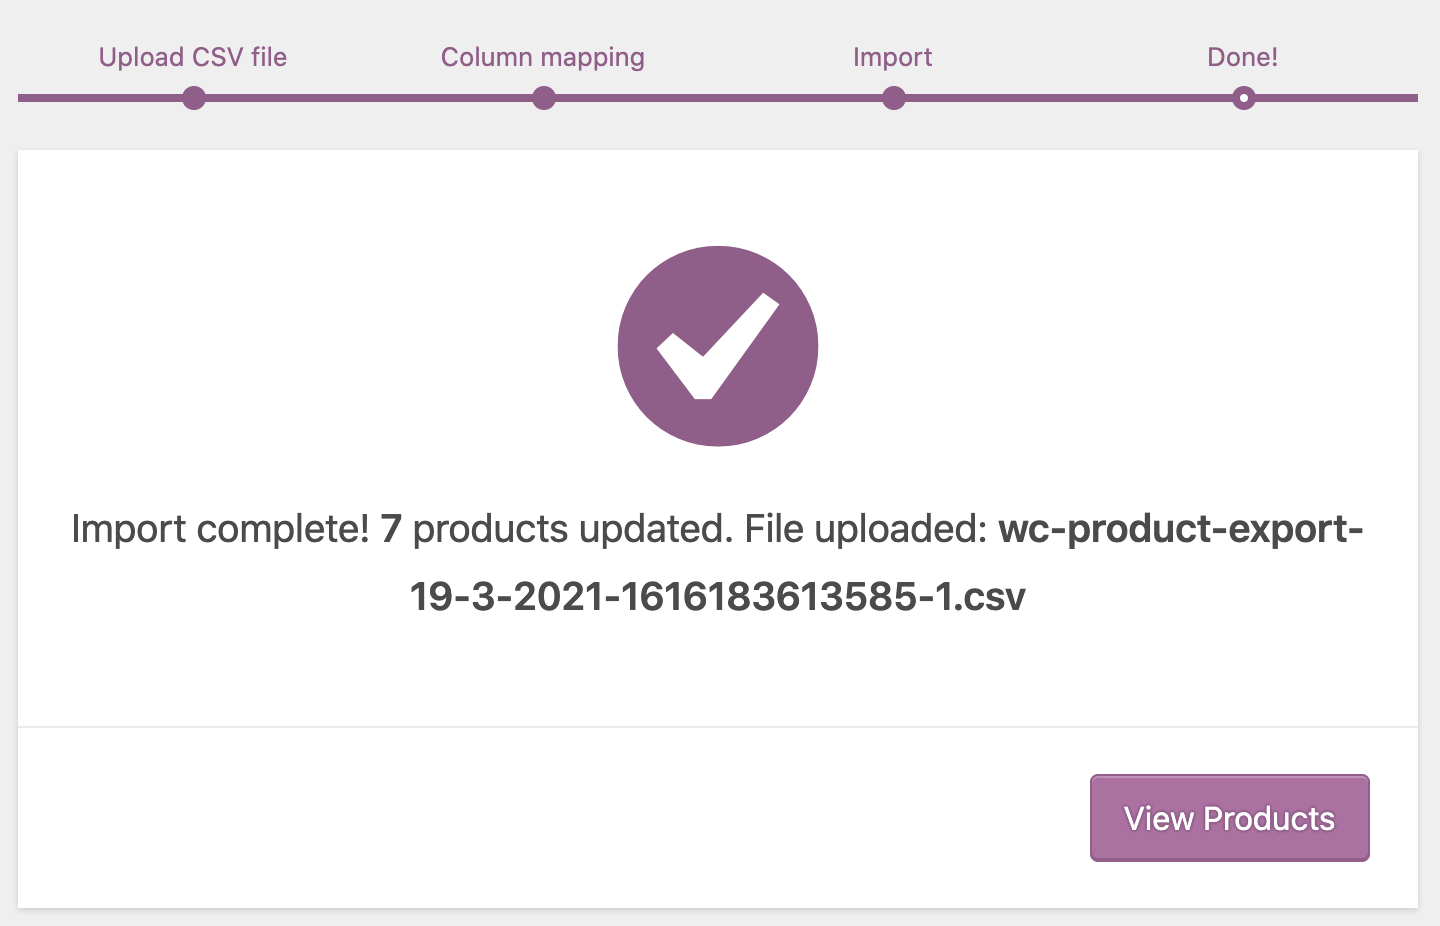
Click the Run The Importer button at the bottom of the page.
If you've done everything correctly, your file should be imported successfully.